Hi friends, I'm Nate Elliott. I'm the chief of staff at Peachy as well as the in-house Notion expert. On December 23rd, 2021, I hosted a live chat about how we use Notion at Peachy, and how others might apply some of the same principles to their companies. This article provides a condensed recap of most of the topics we covered. I’ve also attached a recording of the session below.
Now, let’s dig in...
How Peachy thinks about Notion
As a remote team, documentation is really important to us. We believe in a healthy combination of synchronous and asynchronous work. Documentation helps us be efficient while working asynchronously.
Documentation also helps create a “source of record” for the company and its decisions. Currently, we’re a team of 8 full-time employees. While right now, it’s easy enough to send a Slack message to a teammate when you forget what was decided about X, or why we decided to do Y. But that’s an inefficient system, it’s not a great way of encouraging productivity, and it definitely won’t work when we have 30+ people.
Getting started with Notion.
The trickiest part of using Notion effectively is getting everyone on your team up to speed. Notion has a bit of a steeper learning curve than a word processor like Google Docs or Microsoft Word (because it’s something completely different). In some ways learning to use Notion feels a bit (to me) like learning to code–there is a language to Notion that you need to get comfortable with so that you can maximize its effectiveness.
So, let’s run through the basics of the language of Notion.
1. Notion works in blocks.
Blocks can take different forms and shapes. They can be text, images, code, maps, almost anything. You can take these blocks and arrange them however you’d like. You can place them side-by-side, burrow them within one another, or stack them on top of each other. Importantly, every time you press enter, you create a new block.

2. To access different blocks, use “/”.
Once you know that Notion works in blocks, it’s time to start taking advantage of the different types of blocks. You do this by pressing the “/” key. There are shortcuts to access specific blocks, but those are more advanced skills. The different types of blocks are important, as they allow you to truly harness Notion’s power. Unlike a traditional word processor, you cannot simply change the font size, or add a bullet point, instead, you must use specific blocks. If you’d like to create larger text, you’ll use a header block. Bullet points? A bullet block. A toggle list? A toggle block. Everything has a block, making it easy to quickly format each portion of your doc in the perfect way (and consistently).
.gif)
3. Highlight text to access text tools.
Sometimes you want to change the color of text, change the type of block, or something like that. To do this, simply highlight the text you want to change (pro-tip: if you want to highlight all the text inside of a block, click “command + a”) and you will be presented with a toolbar allowing you to do the following:
- Change the type of block,
- Add a hyperlink,
- Add a comment,
- Bold, Italic, Underline, and Strike-Through,
- Mark text as code,
- Create an equation,
- Change the color of the text, and
- Mention people or pages.
You can accomplish most of these actions through short-cuts, but again, those are more advanced actions.
.gif)
Setting up your team’s Workspace
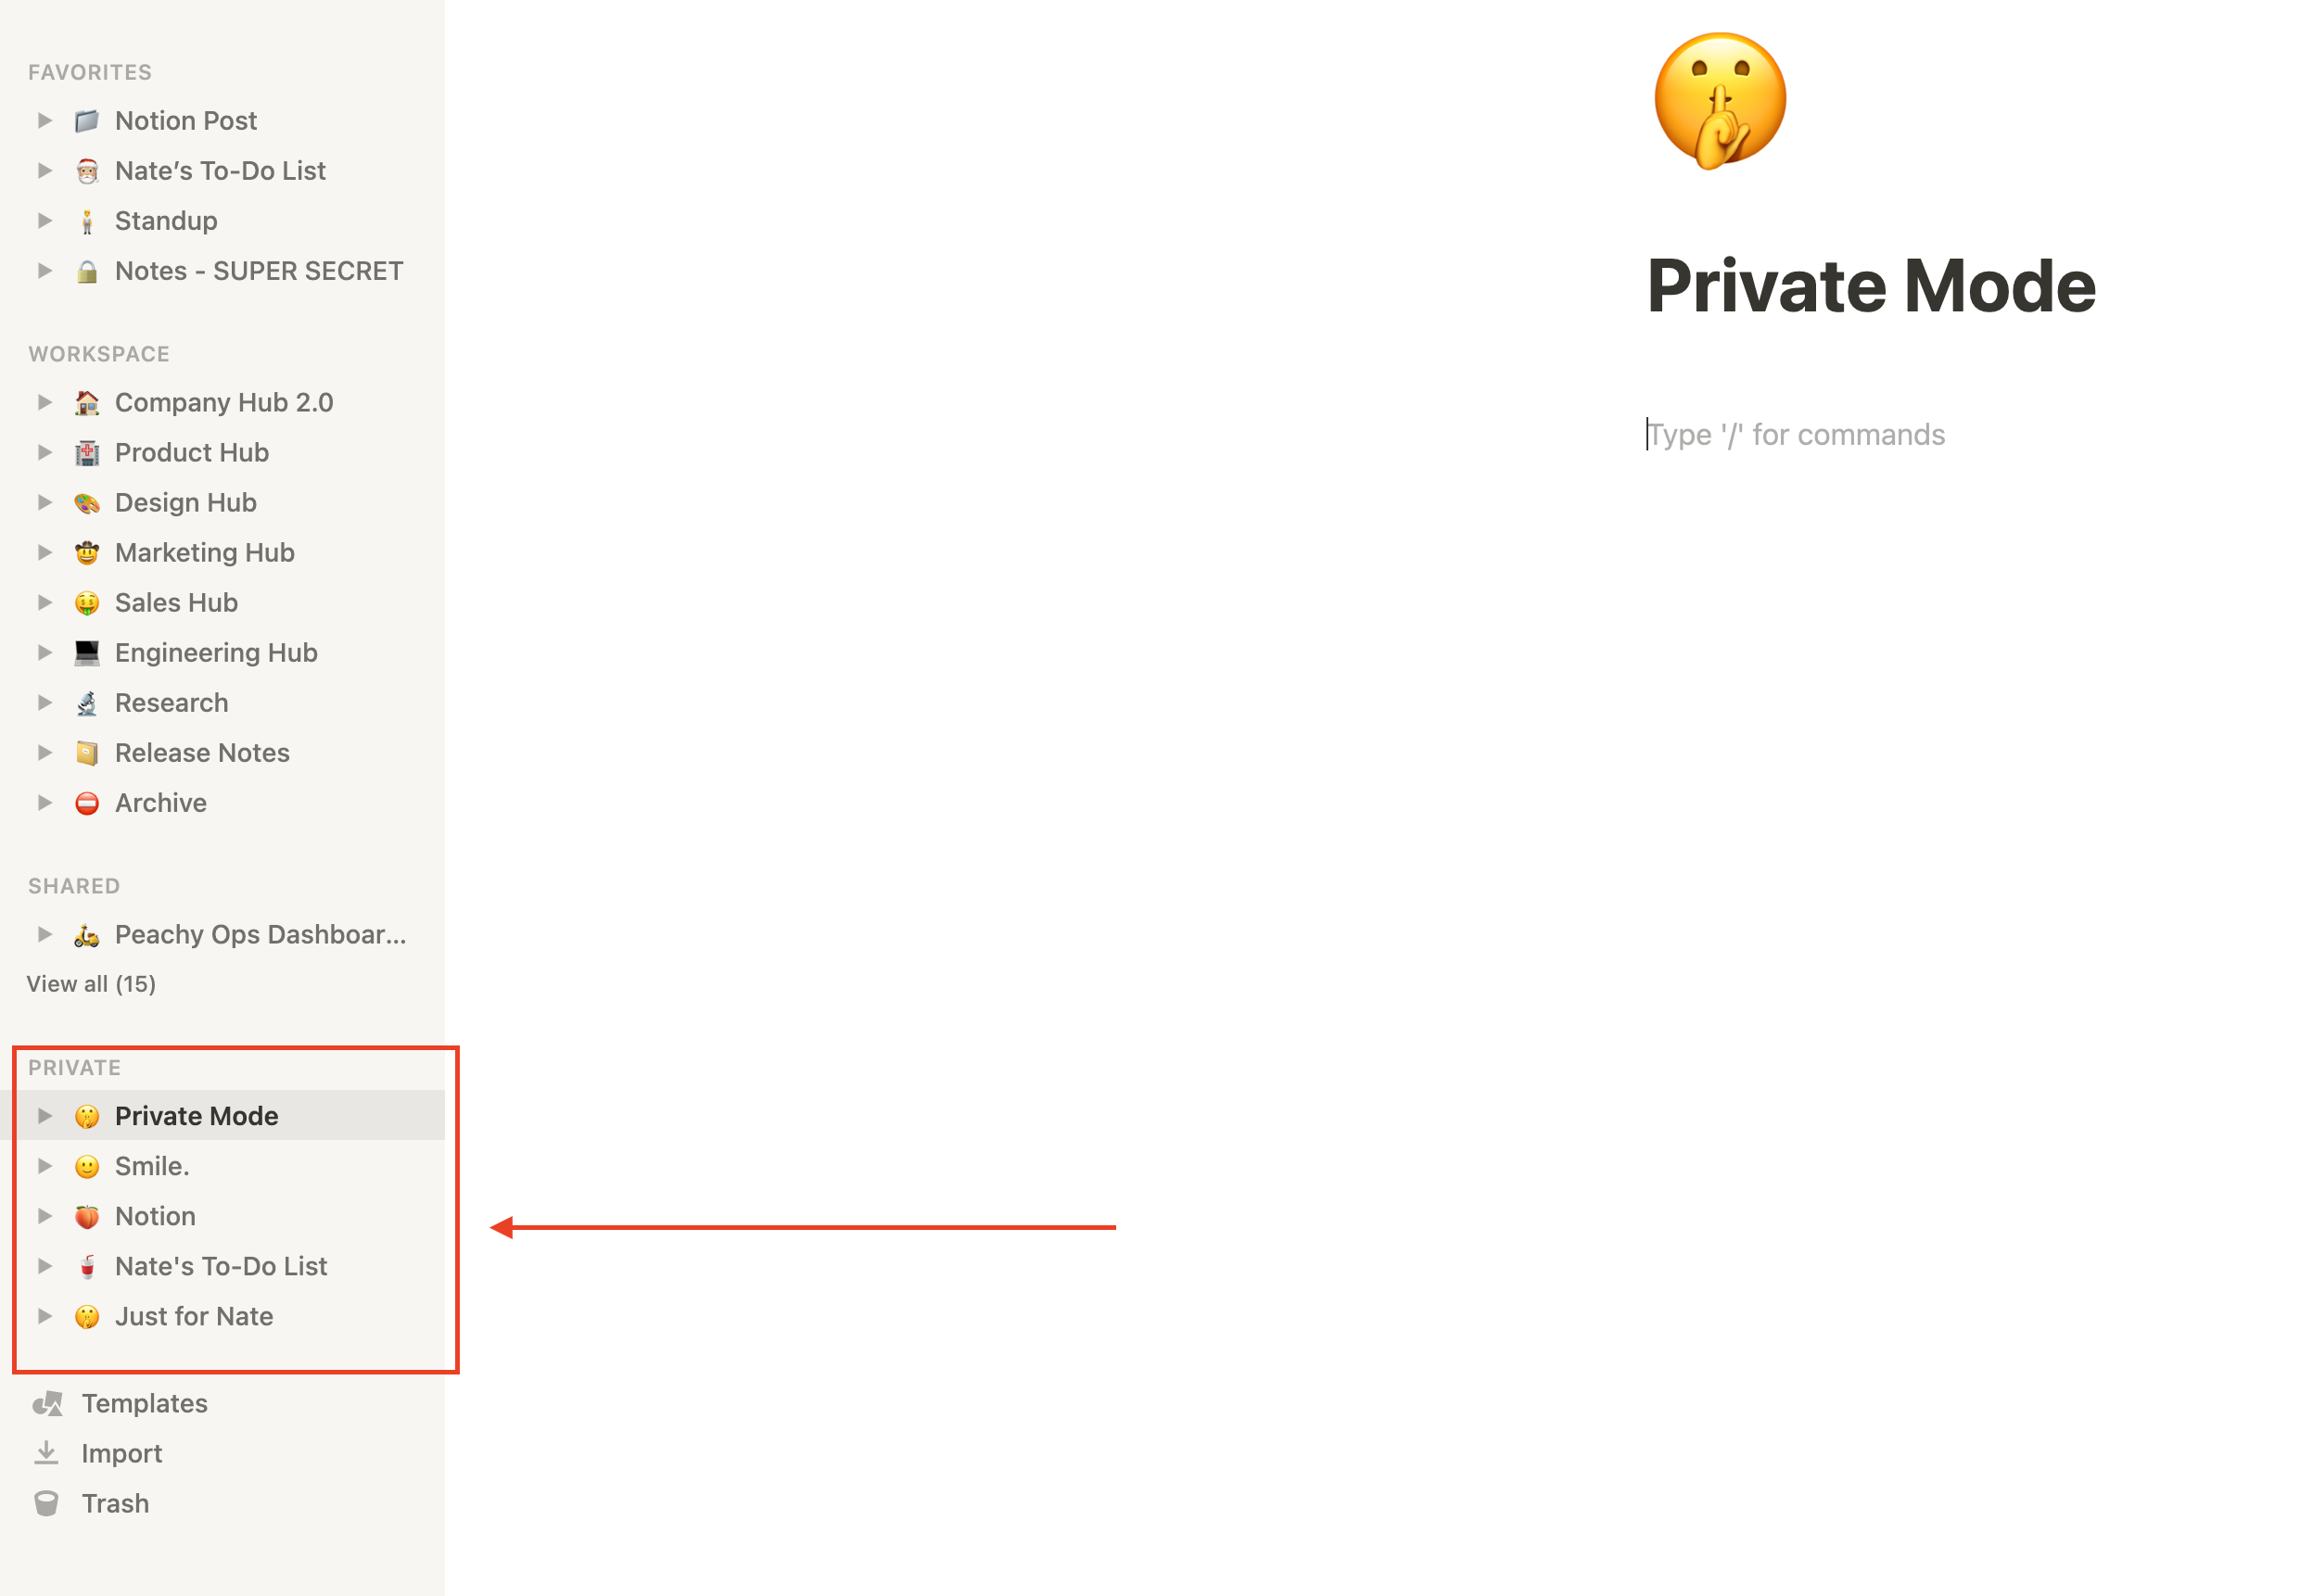
So, once you understand how to harness Notion’s power–in terms of individual commands–it’s time to understand the different “modes” you can work in: Private, Shared, and Workspace.
Private
In private mode, you’re working solo. This is where you can get your thoughts out and nobody else can see them, because it’s “private.” Private is a great place to start working on docs before you move them to Shared or Workspace. If you’re like me, you may not want people to see your work before it’s ready. And keeping pages in Private allows you to do that.

Shared
Often, you will want to collaborate on a doc with certain teammates. This is when it makes sense to move into Shared mode. To take a doc from Private mode to Shared mode, you’ll want to press the “Share” button in the top right corner. (Note: You can pin shared pages which you want to frequently access to the sidebar.) From there, you can grant access to the teammate with which you’d like to collaborate. Pages can be transitioned back to Private mode in the same manner, simply by removing the collaborating teammate’s access.
.gif)
Workspace
Your Workspace is your company’s public file cabinet. When you create things in Workspace, by default it is accessible to your entire team. (Note: You can revoke access within Workspace, if you would like to.) Within your workspace, you should keep everything to which multiple teammates may need access. For example, you might have a stand-up doc that everyone uses each day, or a meeting notes table where all notes are kept.
How should you think about the hierarchy of your workspace?
I recommend starting as broad as possible. This is why I like to think of the team aspect of your Workspace in terms of “hubs.” I can think about how each “department” at Peachy might use Notion. You don’t want people to have to sort through others’ things to find important docs. You want it to be really clear where things are. So starting by asking “How will people be using Notion?” is an important first step, because then you can make sure that there is a home for each department’s needs.
Once you’ve broken it down into different hubs, the next step is to identify the core components (or job responsibilities) within each hub. Breaking hubs down into core components allows users to easily find where different docs or resources related to each component might be. Within each component, you can then break it down into smaller resources or working documents or whatever types of pages you need. Once you get into the component level, things are pretty granular, so it’s pretty easy to find what you’re looking for.
At the end of the day, it just needs to work for you and your team. So listen to their feedback and try to keep things as simple as possible. You’ve got this! 😉
Some quick Notion tips & tricks
Taking content out of Notion
You may find yourself working on a project within Notion, only to need to share it with someone outside of Notion. When this is the case, you have two main options: export or copy & paste.
The export function can be found in the toolbar in the top right. Select the 3 dots and you will find an export button. Selecting the export button will prompt you to select the format in which you’d like to use to export the page (PDF, HTML, or Markdown & CSV). You can also elect to include all content or exclude files and images. Finally, you will need to choose whether you’d like to include any subpages.
.gif)
The copy & paste function provides an alternative to the export function if you’d like to transfer content from Notion into a new document. The copy & paste function is especially useful, as the content retains its formatting through the paste.
.gif)
Creating Linked Databases
Creating linked databases is one of Notion’s superpowers and learning to use them properly can really help you work effectively across teams.
To get started, you first need to create a database to which you can link!
.gif)
Linked databases are useful because they allow you to view and edit databases in different locations, while also applying filters that allow you to more effectively use the database. For example, it is a good idea to keep a company-wide database of meeting notes. However, it’s often not useful for somebody from engineering to have to sort through all of the sales team's notes. This is where linked databases help improve effectiveness. With a linked database, you can use the same company-wide meeting notes database in your engineering hub, but with a filter to only show meeting notes tagged for engineering. The usefulness of this is twofold. First, it allows your engineering team to easily find their notes, but more importantly it allows them to add meeting notes to the company-wide database from their engineering hub, as the databases are linked, so any edits to their meeting notes database in the engineering hub will reflect on the company-wide database.
.gif)
Linking to a specific block
If you are working with a long document, you may want to employ a sort of “back to top” function within the page. You may want to simply return to the top of the page, or perhaps to a specific block. Notion allows this by letting you create hyperlinks to specific blocks.
To do this, click the six dots to the left of the block to which you want to link. Then, click “copy link to block.” You can then paste the link as a hyperlink wherever you’d like.
.gif)
Table of Contents
This is a super simple function, but can really improve the organization and usability of a longer document. You can create a table of contents simply by using the tying “/” and then selecting the “Table of Contents” block (it’s an advanced block). The Table of contents will be automatically created based on your existing headings.
.gif)
Paste & Sync
Sometimes you want to copy something into a new doc, but you may plan to update it in the future and you don’t want to manually update it each time you make a change. This is where the paste & sync function is especially helpful.
When you copy and paste a block (or blocks) in Notion, it will ask you if you want to “Paste and sync.” If you select yes, then the pasted information will sync to the original information. This means that any updates or edits to the original information or the pasted information, will be reflected anywhere that the information is synced.
.gif)
Templates
If you find yourself repeatedly creating similar documents, it may be time to create a template. For example, you may be keeping meeting notes. Instead of creating and formatting a notes doc each time you need to take notes, you can create a template that you can use.
There are two main ways to create templates. The first is through the template button. The template button prompts to you name the button and then drop in any blocks that you want to duplicate whenever the button is clicked.
.gif)
The second method is found within databases. Every item within a database can also be page. You can input page templates within a database by creating a page, selecting create template, and then creating the template however is most useful. You can then access the template when you create a page by simply selecting it.
.gif)
Notion Charts
Notion Charts are not exactly easy to do, but they can be really useful when done right. First, you’ll need to head over to Notion.vip/charts. From there, you’ll need to get comfortable with their demo data formatting, because you will need to format your data similarly. Once you’ve formatted your data, you will input all of the necessary information into the forms on notion.vip/charts and then it will create a link for you. You will then use the “/” embed function in Notion to embed the chart into Notion.
We hope you found this guide useful! If you did, and you're tired of receiving paper bills from your healthcare providers, refer your provider to Peachy and we'll help them start sending your bills via text and email!


